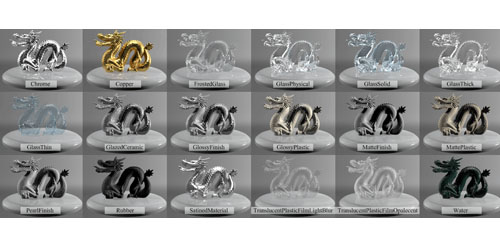
Maya:mia_material_part05
Let’s start where we left off last time ●Bump The bump input accepts a shader that perturbs the normal for bump ma […]
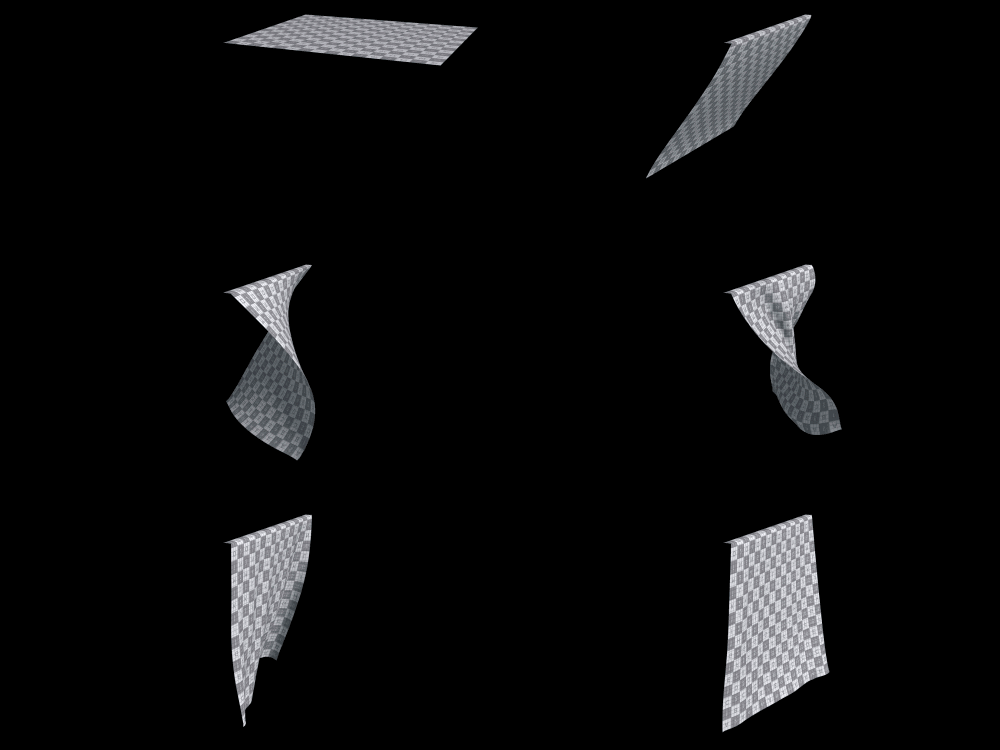
Houdini回。Cloth系です。忘れては調べてを繰り返すので備忘録も兼ねて。Clothの一部分をターゲットオブジェクトの動きに完全に拘束する。オブジェクトに"pintoanimation"というPointアトリビュートを持たせることで、そのポイントをターゲットポイントに完全拘束出来る。この"pintoanimation"という名前がなぜだか私は覚えられない!ここでは布に見立てたグリッドを用意。ポイントアトリビュートpintoanimationを作り、布のはじっこは値1、それ以外は0にしている。ここでは暫定的にpintoanimation=1に赤、0に[...]
read more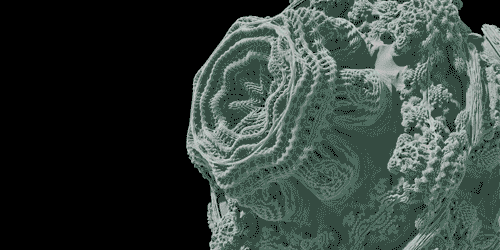
私も3Dフラクタルなるものを作ってみようと。シーンビューに見えてるヤツは確認用なので結構あらめ。レンダリングするとキレイ。確認用のボリュームの解像度を上げて、OpenGLレンダリング。まさかの数秒!四角いのも作ってみました。そんな感じです、ハイ。最近、更新不定期です。カンニン m(_ _)m参考https://en.wikipedia.org/wiki/Mandelbulb[...]
read more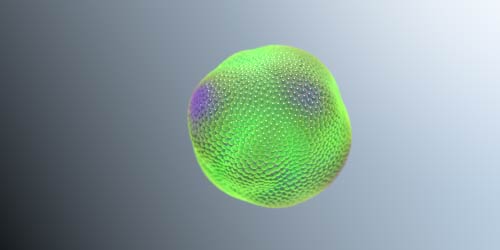
Houidini回ッス。Timeshift(SOP)とBlendshape(SOP)を使ったLoopアニメーションを作成するッス。もとは、こんなのッス。mountain(SOP)で動いてるッス。Loopさせたい尺分、TimeShift(SOP)でシフトさせて、BlendShape(SOP)で最初と最後をブレンドさせると動きがループするッス。そのままだと味気ないので、copy(SOP)でSphereを貼りつけたッス。ネットワークの全体はこんな感じッス。シンプルッス。[...]
read more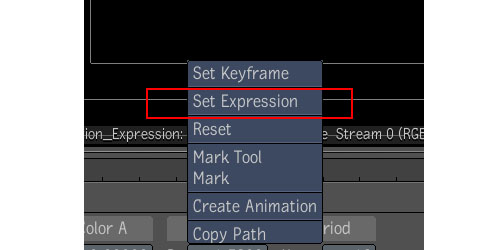
今回はToxikでのExpression設定方法を備忘録もかねて。ToxikのExpressionという言葉の意味は、MayaやAfterEffectsのExpression、3dsMaxの式コントローラと同様です。”複数のパラメータを一元で管理したい”とか、”パラメータを数式使って設定したい”とか用途はいろいろです。では、設定方法です。①:制御したいパラメータ上で右クリック。②:出てきた項目から"Set Expression"を選ぶ。③:関数電卓のようなWindowが現れます。これでExpressionを書きます。一般的な数学の関数は一通りそろっている[...]
read more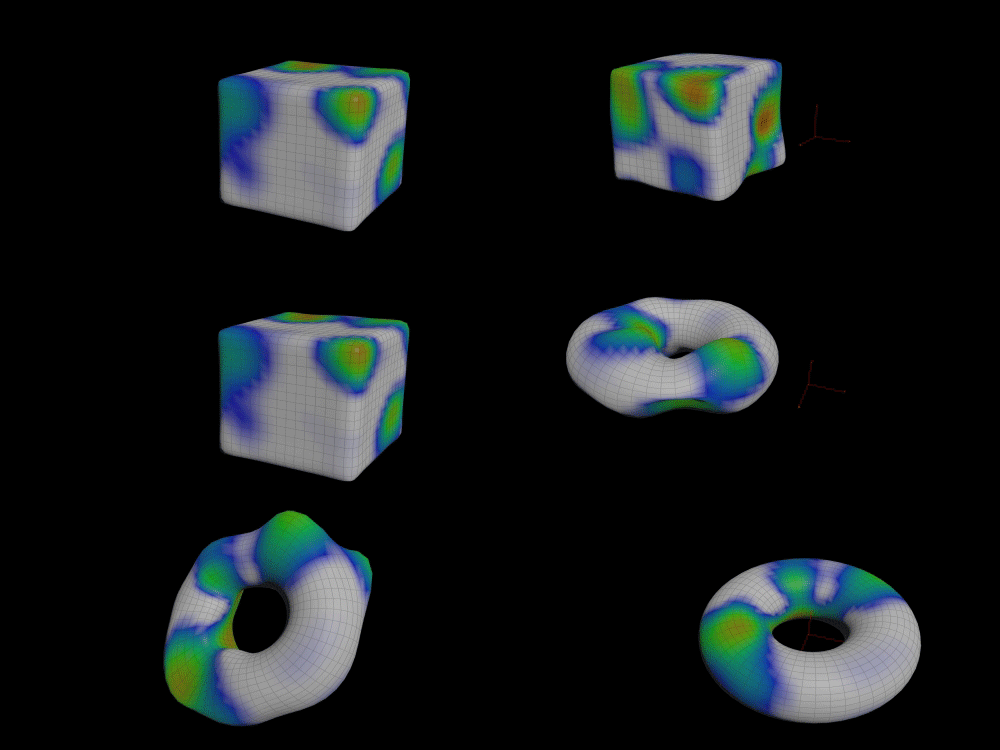
Houdini回。CHOPのjiggleでぷるんぷるんさせてみた。ネットワーク全体はこんな感じ。割とシンプルなネットワークで、面白い効果が得られるものだなぁ、と。プルプルした動きを作っているのはノードchannel1が参照している、Chopnet1の中身で・・・、以下略!詳しくはファイル参照! 手抜きじゃないよ!!!Sample File : jiggle_v01_sample.hiplc[...]
read more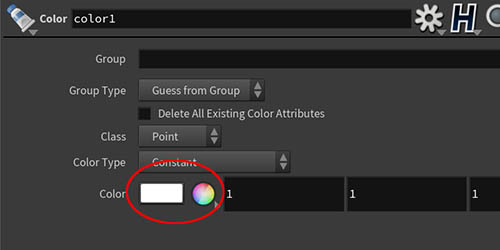
最近知ったColor SOPのプリセット。パラメータのカラーパレットのところ(上図の赤枠)を右クリックすると、プリセットメニューが現れるようです。これ最近知りました。標準的な色と色温度がデフォルトで登録されているようです。任意の色も登録できるっぽいですし、こんなのあったのかと。色温度のプリセットがあるのは、「おっ!」となったけど、実際に使う場合、特定の色温度のみ使うシチュエーションって・・・、とは思いました。が、あって困るものではないと思うので、よし!以上!また次回。(Houdini18.0.416)[...]
read more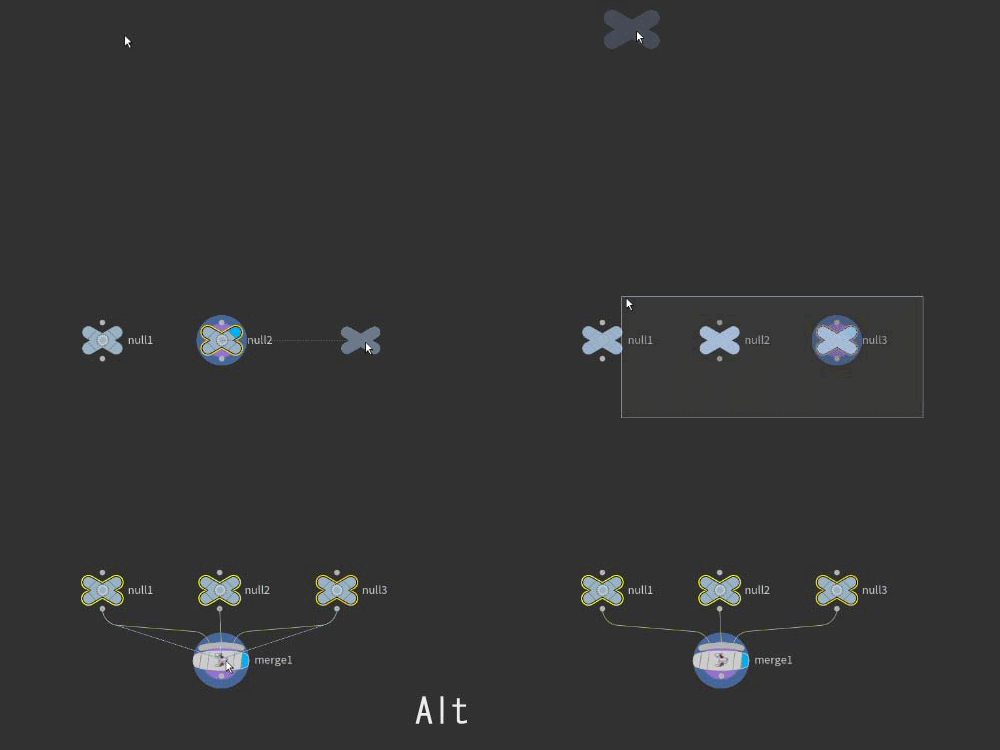
Houdini回。最近知ったこと。SOP階層で、複数のノードのアウトプットを選択してAlt押しながらドラッグすると、Merge(SOP)が作られる。最近のバージョン更新内容だった気がするけど、あらためて「へ~」って思ったので。以上!これだけ。[...]
read more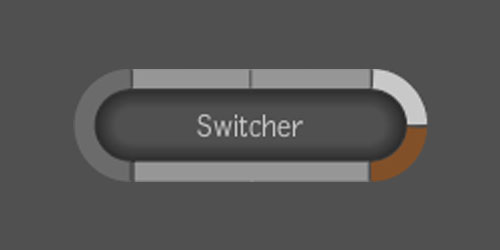
toxikノード解説回です。今回はSwitcherです。名前の通り、切り替えるノードです。何を切り替えるのかというと、表示を、です。このSwitcherノード、入力が二つあります。PrimaryとSecondaryです。PrimaryにはImageが一つだけ、Secondaryにはいっぱいコネクトできます。これらのうち、Primaryに接続された方が表示されます。Switcherノードが持つパラメータはSelected Imageだけ。コレを切り替えることで、表示する画像を切り替えます。実際にやってみると、PrimaryとSecondaryの[...]
read more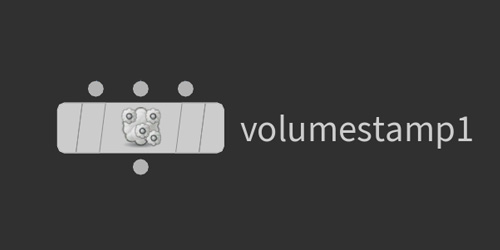
Houdiniノード勉強回。Volume Stamp(SOP)の使い方をいつも忘れるので、備忘録!!!最近、いろいろ思い出せないし、覚えられない私です。・・・老化 ∑(゜д゜υ)Volume Stamp(SOP)はCopy Stamp(SOP)のボリューム版。こんな感じに、ボリュームを複製(?)できる。上記のネットワークは次のようになっています。:Volume Stamp(VOP)で作られるボリューム全体を定義するボリュームまたはVDB:コピー先のポイント(Copy SOP同様、特定のアトリビュートを持つ場合コピーの挙動に影響を与える):コピ[...]
read more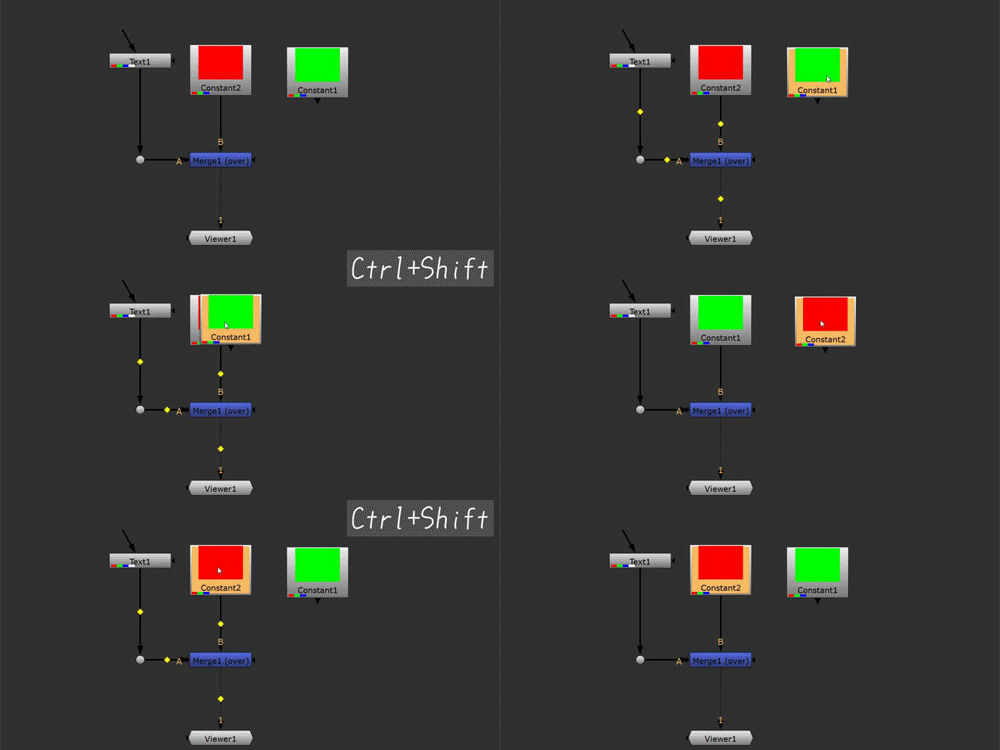
NukeのTips回。ノードの入れ替え、Swapの方法。ノードを選択して、Ctrl+Shift押しながら、入れ替えたいノードにドラッグ。実は最近知った、以上![...]
read more
Let’s start where we left off last time ●Bump The bump input accepts a shader that perturbs the normal for bump ma […]
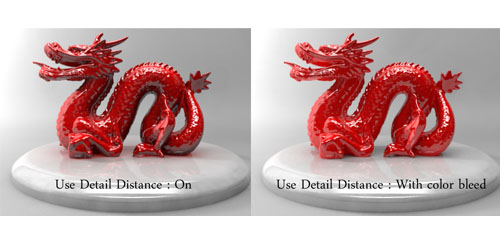
Let’s start where we left off last time ●Indirect Illumination Options ・FG/GI Multiplier An indirect multiplier th […]
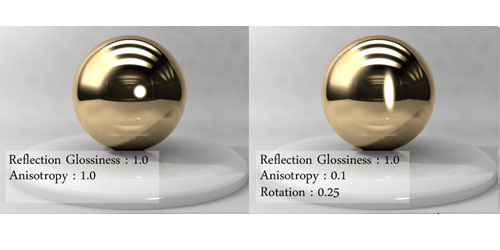
Let’s start where we left off last time ●Anisotropy ・Anisotropy Sets the ratio between the width and height of the […]
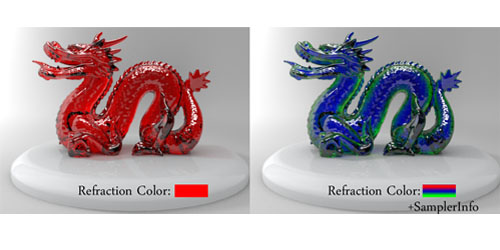
Let’s start where we left off last time ●Refraction ・Index of Refraction The amount that a ray of light bends when […]
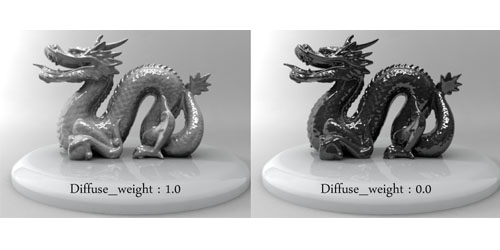
I checked and summarized “mia_material” Although there was a blank part of the knowledge which has not yet b […]
