Lightstorm3Dの無料ツールライブラリ「L3Library」にある機能の一つ、GeoLocatorが面白かったので備忘録も兼ねて。
GeoLocatorという機能は、どうやらコンストレイン+追従の動きにノイズやDynamicsを加味するというものらしいです。
試しに作ってみました。

まず、インストール方からざっくりと。
①サイトからL3Libraryをダウンロード。(※登録必要)
②任意の場所にファイルを解凍。
③Maya起動
④ScriptEditorを起動しPythonタブに切り替え、↓のスクリプトをコピー&ペースト
import imp
<span style="color: #0000cc; font-family: 'Courier New', Courier, monospace; font-size: 14px;">L3SetupPath = </span><strong style="color: #0000cc; font-family: 'Courier New', Courier, monospace; font-size: 14px;"><span style="color: red;"><em>'C:/temp/L3Library_1.3.0_m2011_win'</em></span></strong><span style="color: #0000cc; font-family: 'Courier New', Courier, monospace; font-size: 14px;"> </span>
<span style="color: #0000cc; font-family: 'Courier New', Courier, monospace; font-size: 14px;">L3Setup = imp.load_compiled( 'L3Setup', L3SetupPath + '/scripts/L3Setup.pyc' ) </span>
<span style="color: #0000cc; font-family: 'Courier New', Courier, monospace; font-size: 14px;">L3Setup.main( L3SetupPath )
</span><span style="background-color: white; color: #333333; font-family: Meiryo, Georgia, 'Bitstream Charter', serif; font-size: 13px; line-height: 24px;">
⑤↑スクリプトの赤字部分を②で解凍したパスに変更
⑥実行。Installerが立ち上がる。
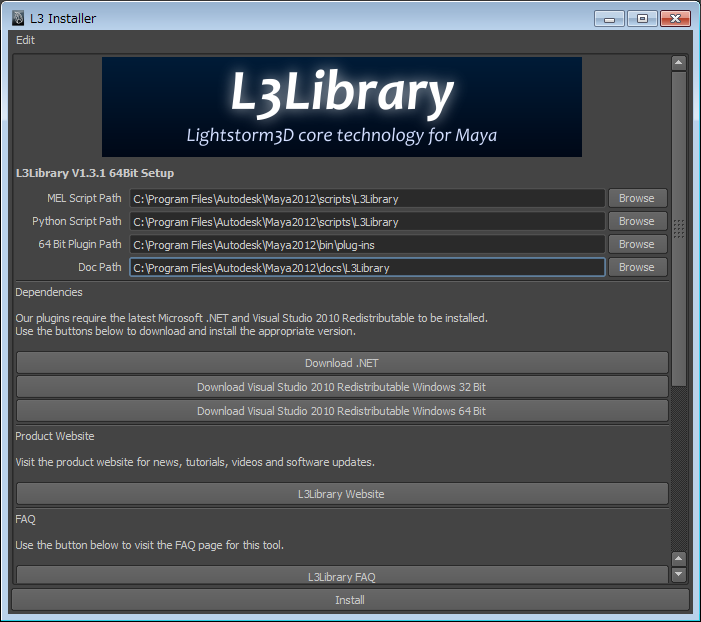
⑦インストール先を指定しInstall。
⑧ .NET と Visual Studio 2010 Redistributableが必要らしいので、マシンに入っていないならこれもインストール
⑨Mayaを再起動し、Plug-in Managerを起動。(Windows > Settings/Preferences > Plug-in Manager)
⑩L3Library.mllをロード。

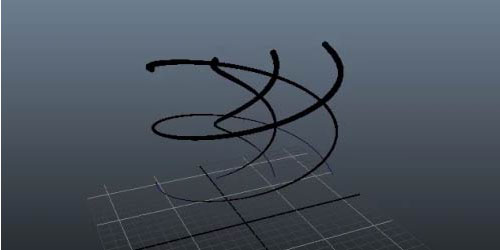
こんなのを作ってみます。
①Sphereを作成
②ConeをSphereの表面付近に作成
③メニューから[Lightstorm3D]→[Library]→[Animation]→[Geo Locator]→[Create Geo Locator]
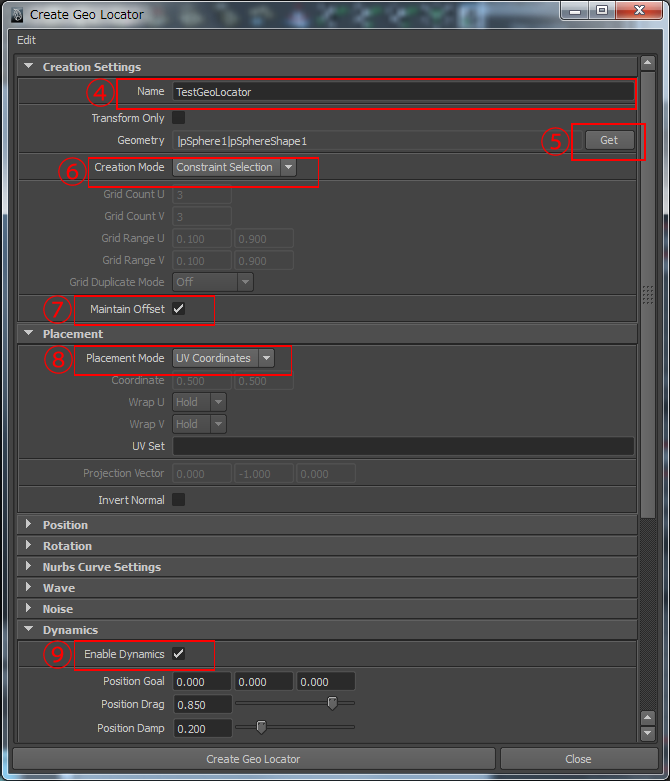
④Create Geo Locator Windowが開いたら、Nameに名前を入力
⑤Sphereを選択してGeometryの”Get”ボタンを押す
⑥Creation Modeを”Constrain Selection”を選ぶ
⑦位置関係を保持したいので、”Maintain Offset”をON
⑧Placement Mode をUV coordinatesに
⑨コンストレインにDynamicsの動きを追加したいので”Enable Dynamics”をONに。
ついでに、Position Drag=0.95、Position Damp=0.9に設定
⑩先に作成したConeを選択した状態で、下のCreate Goe Locatorボタンを押す。
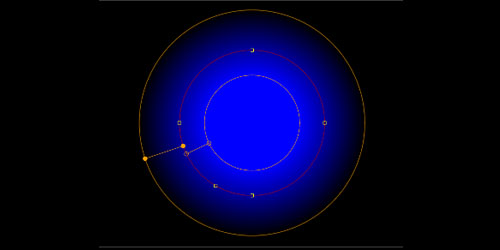
以上でサンプルのようなものが出来るはずです。
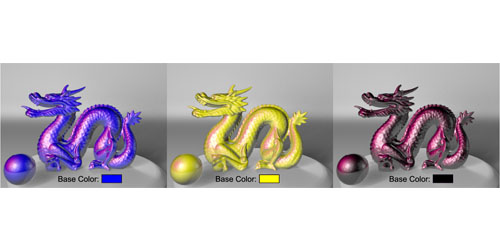
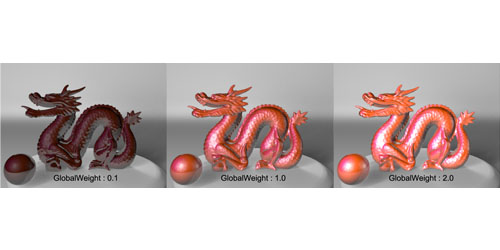
一番上のサンプルはDynamicsとNoiseをONにしてパラメータを調節したものです。
GeoLocatorは他にも使い方があるようですが、それらはLightstorm3Dのドキュメント参考ということで。
以上、Lightstorm3Dが面白かったのでざっくりでした。


コメント